


What is confirmed
The Trenches is named in the official sequel store description. The name does not establish literal trenches, elevation rules, underground passages or a specific size. Those details need an observed match or an official diagram.
Learn the layout in a custom match
Use a custom session to list three things: where you begin, how you reach an objective, and where you can retreat after a fight. Build the smallest useful mental map first, then add a second route that avoids the same exposed angle.
For Destroy The Block, give each teammate an actual observed landmark to watch and agree on a short, consistent name. Because you only have one life per round, an understandable callout is more useful than pretending to know a borrowed bombsite label.
Map evidence and image context
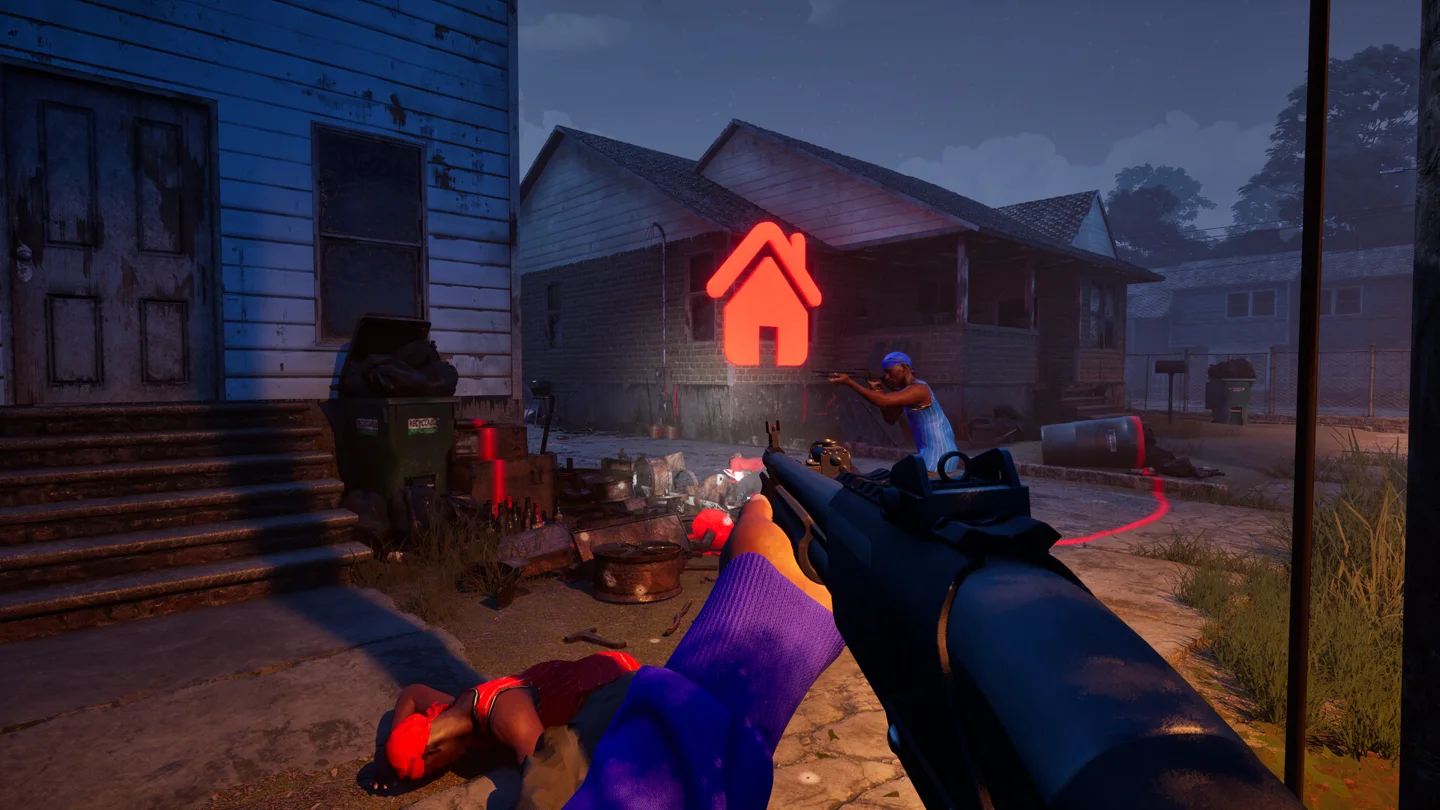
Our guide does not contain measured rush timings, wallbang positions or spawn-trap locations. General official imagery accompanies the article for context and is not a surveyed plan of The Trenches. Recheck learned routes after updates that change spawning.
Sources & verification
Checked: 2026-10-14